August 22, 2016

body work and getting ready for paint

 covering and taping everything that isn't going to be painted.
 backed it outside so everything that was repaired would be visible....natural sunlight is best for spotting dents
 after spending time looking it over......

 it was brought inside...sanded
 after sanding it had primer paint on it....Jim then backed it out into the shade and spent hours sanding with fine grit paper to get all the rough spots off.

 Back inside ....wheels covered...
this is weeks of work....he has about 400 hrs in it now.

August 18, 2016

new radiator ..brackets for bumper

Once Jim got the radiator back from Ed's Radiator repair shop he had to install it...lots of unhooking and moving parts to get it in.
 He had to modify the shroud and get new hoses.
It looks pretty good.
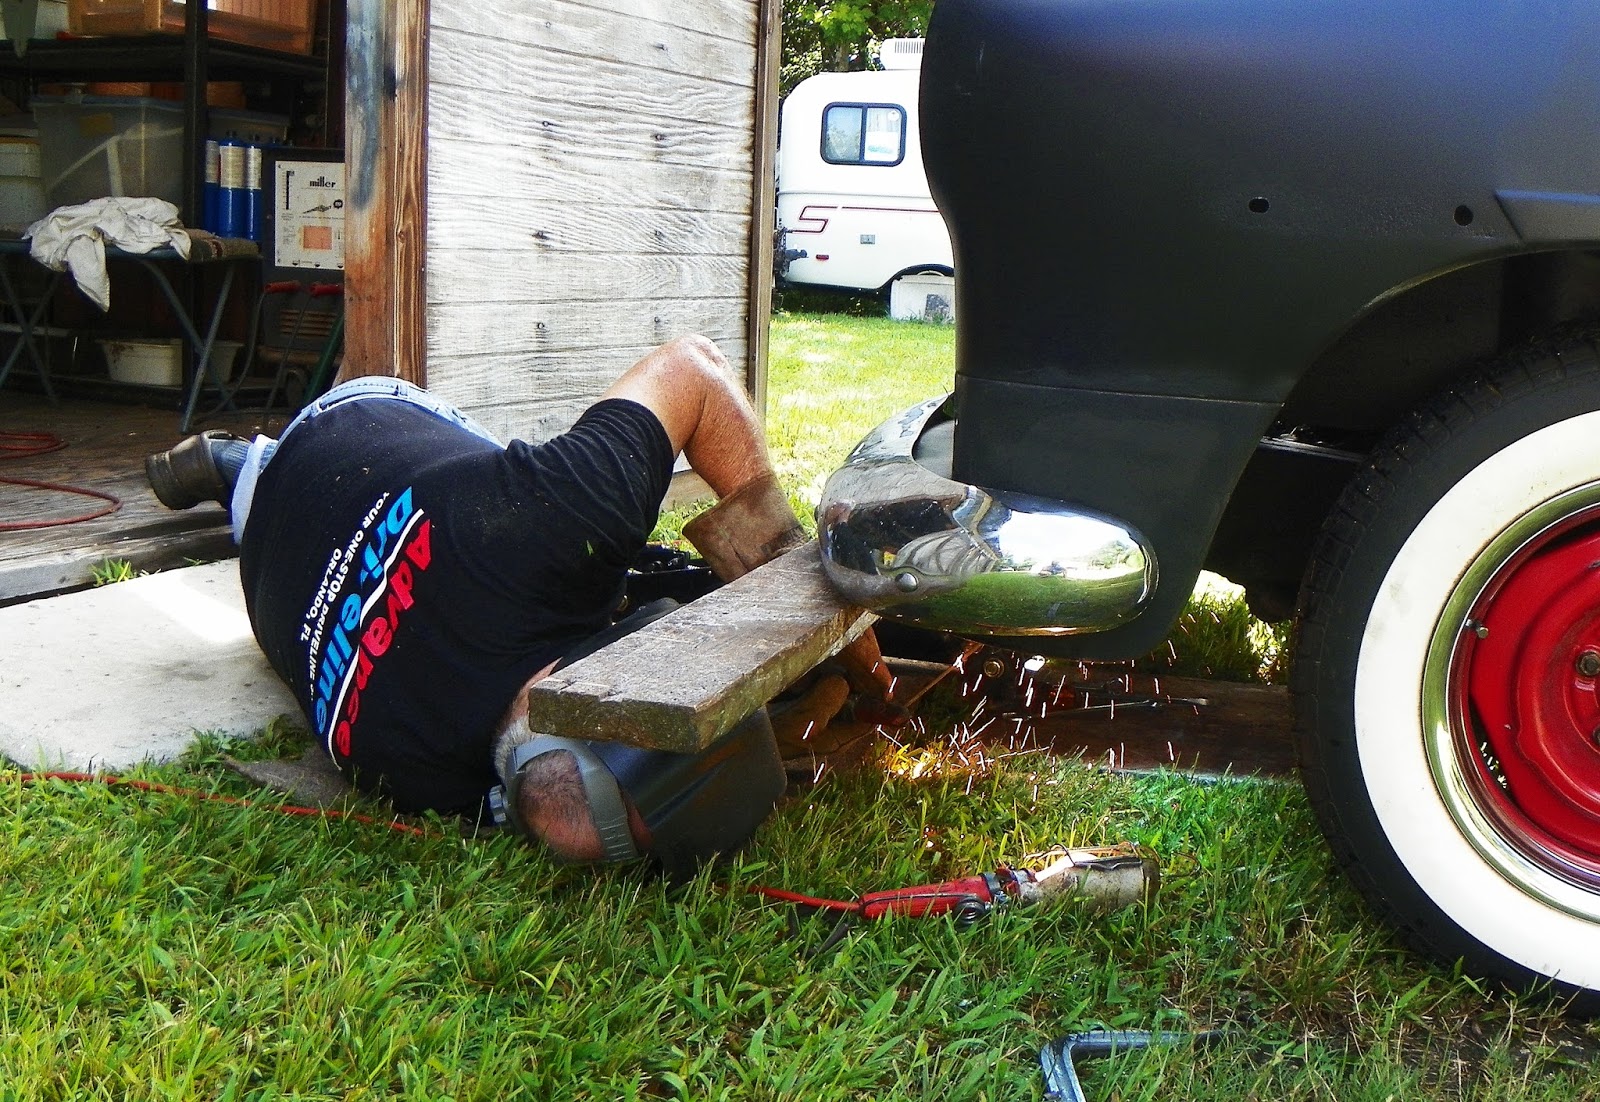
Now it's time to weld on the brackets this bumper will bolt to.
 a 2 x 6 and a jack holds it in place while he sets the brackets....

 He's tack welding them ...then he'll remove the jack and 2 x 6 and finish up.
 Jim used to race Top Fuel Dragsters....had to do a lot of the work himself...not like today with a big crew. He also had a shop building super charged engines for street rods....that is what he was doing when I met him...went to lots of car shows.
 Working on the rest of the "bright work".
 It will have a lot more shiny stuff on it than I like but that is what the new/old front end had.

August 13, 2016

Engine & Transmission are in.


 the base of the lights are in.....but had to come out again for installation of adjusters.

 .Jim shined them up and put in adjusters for the headlamps.
 This is what they fit into.

He even has the shifter installed.
It all looks pretty easy when reading this...but he has hours and hours in it.  Radiator was installed but had a leak. He took the radiator that came with the front end parts to Ed's Radiator Repair.  Now he's had to remove the shroud....the transmission coolers and get everything ready to install the new/old radiator...

August 11, 2016

 We are setting the transmission on the floor. It will be on a jacks and blocked for balance.

 When you don't have a lift you make do with what you have. It ended up on two jacks. Once it was in place and balanced....

 Jim bolted it to the motor mounts...but left it on the engine hoist so I could move it up and down a bit.

 Once the engine was bolted to the mounts...Jim crawled under ....we rolled the car back to the transmission...I got the easy job of either raising the motor up or down and jacking the front of the transmission up...he used two long bolts to get it in place then bolted it together.
 It sounds like an easy job but it took a lot of work on Jim's part...at this point he has over 300 hrs in the repair.


We have fenders.


His specialty is engines....not real fond of body work but he's been at it for several weeks. Once the welding was done he had to do some filling....sanding....filling....sanding...then primer.
up in the air and ready for the transmission and engine to be installed.

August 6, 2016

Osflow, primer and paint

 After the Osflow he used a grey primer that also helps prevent rust...

 Once all those parts were done he used a black primer.
 I guess with all this paint....it will be a keeper.
 Hard at work....Jim puts in more hours than many men half his age...guess it is a labor of love.
The Scamp camper looks so good following the "49 Hudson down the road.

August 5, 2016

Wrecked parts removed.

 He cropped the fenders. They had been customized by the door and no seperations were visible...so instead of messing that up he did it this way.


 Here are the parts he removed.
Jim did a lot of checking around....called lots of Hudson people and found one who had a front end. He was from Nebraska and was  going to the Hudson meet in Chattenooga TN....would bring it and Jim could meet him there.


 Jim unloaded most of the small stuff....but to get the hood out I had to crawl under it and get to the backside to lift it.

 It was all in one piece and they had to take it apart so it would fit in our truck. Here it is laid out on a tarp under the truck port.
Lots of surface rust so he took it to a friend who had a sand blaster....then put Osflow on it to stop any more rust.