Last trip on the river we had a leak in the boat....about a gallon an hour so the bilge pumps had no trouble keeping up with it when at anchor...no leaks while underway. Jim figured it had to be in the transom. We used his engine hoist to remove the motor but were still able to leave the lines and cables attached.

Getting started...the wood in the transom was wet and rotting.

He even made his own tool for getting the wet wood out.
Got kind of messy...
Chiseling out the rotted wood.
got it all out....
Making replacement boards....there will be a separation between them for the resin slurry.
The diamond shapes will be the spacers.
Vacuuming out the sawdust and rotted wood.
Testing the fit of the plywood ..
Resin in the pail....
Adding the fiberglass..to make a slurry...
painting the plywood with the resin...
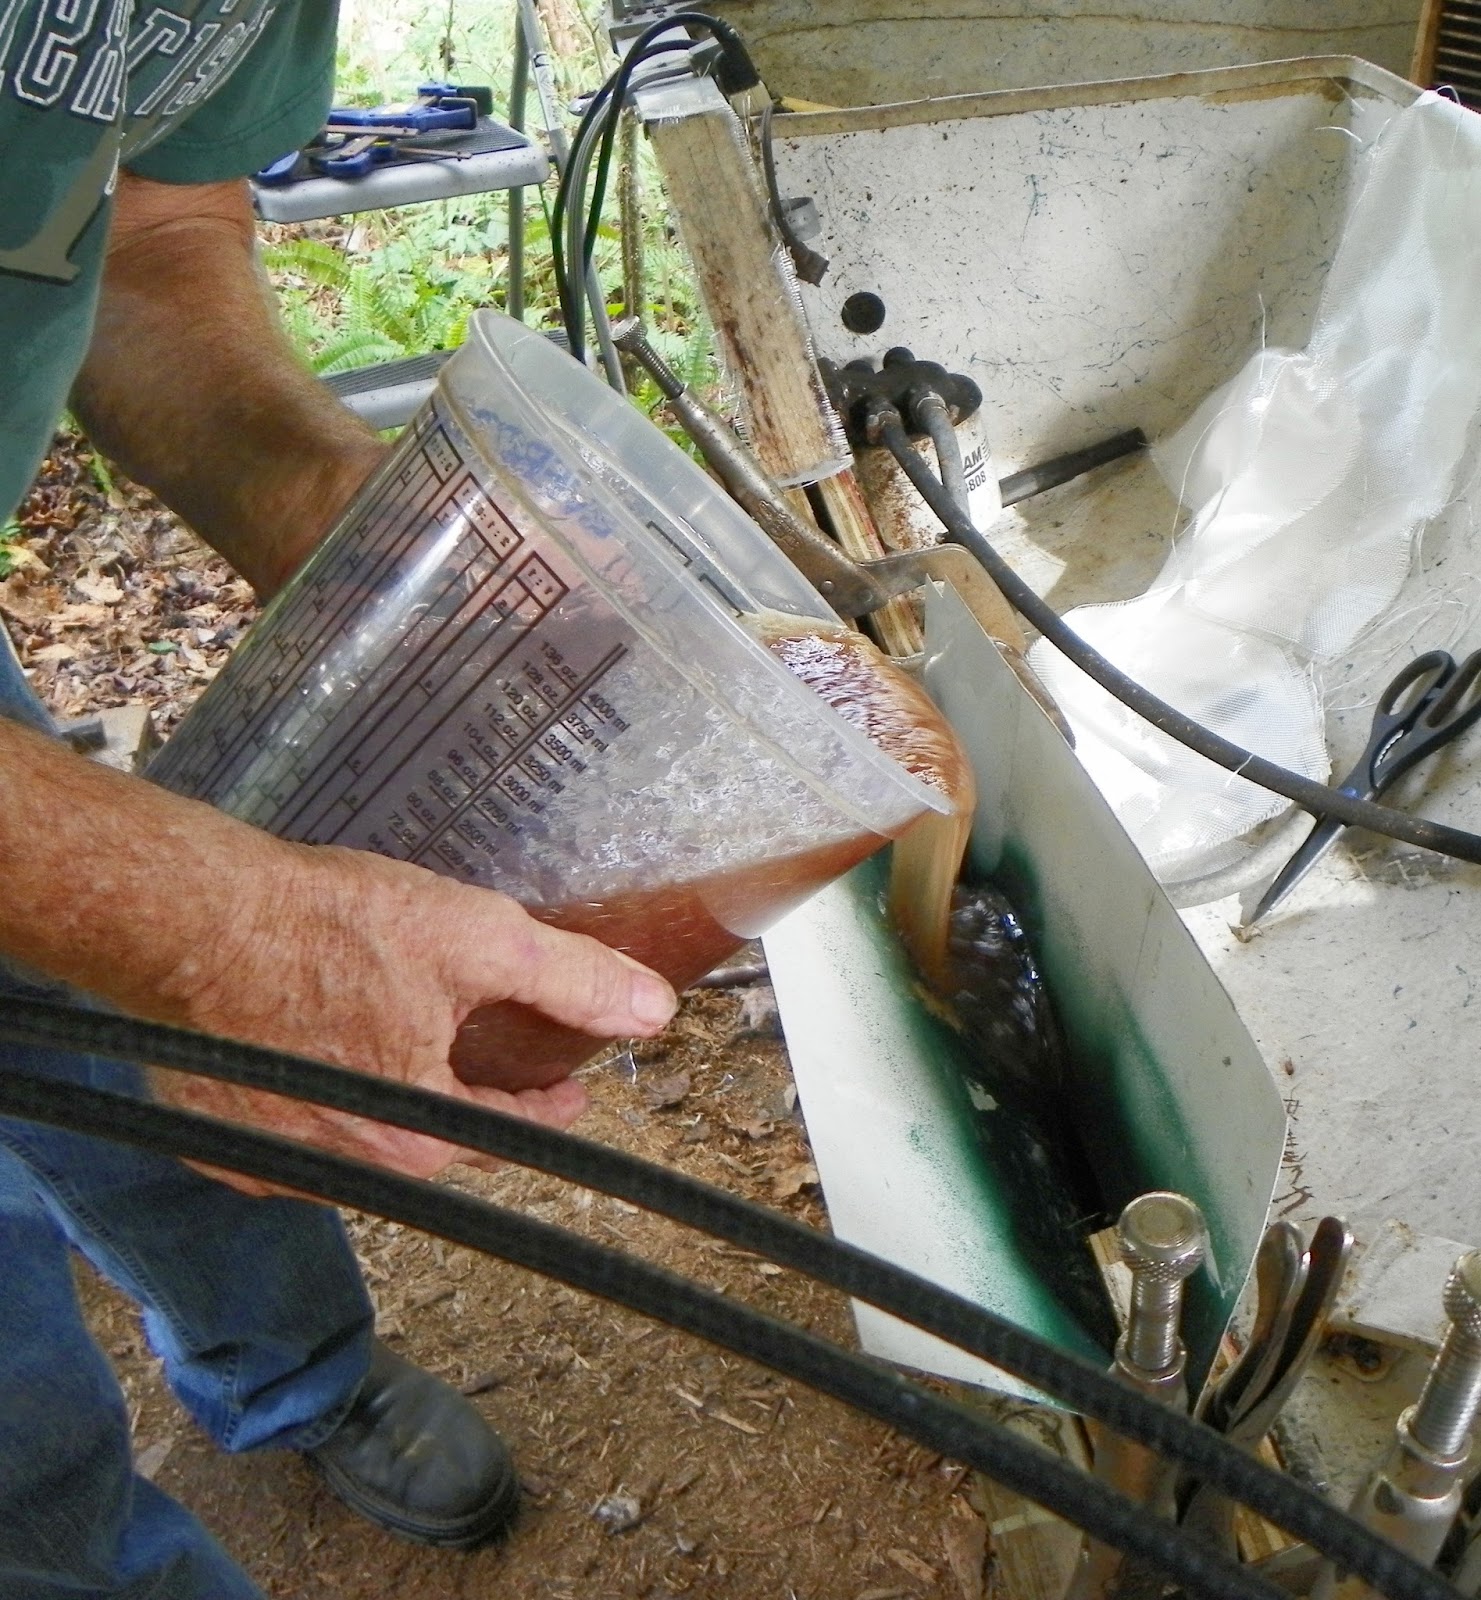
in goes the 2 gallons of slurry...then the plywood will be put in.
checking the slurry level...
needs a bit more....ended up with 4 gallons in it.
getting everything clamped in place and adding fiberglass matt to the top and then a finishing touch of resin.
sanding off the excess...... glad he's wearing his mask while sanding the fiberglass.
This raises the transom 2". When we put this motor on the boat, Jim raised the motor 2" and used a 2" square piece of aluminum tube on the top of the transom for the motor bracket to sit on...now it should fit perfectly without the tube and less water will come over the transom at launch.

aluminum rail back in place and filler over the plywood.
filled and sanded...gelcoat next.
looking much better.
we'll give it a few weeks to dry and set up then we'll launch and see if we've fixed the leak.
It took several days to get the rotting wood out and another 8-10 days to get to this point.
 Getting started...the wood in the transom was wet and rotting.